

Deliver to
The Netherlands
£
change
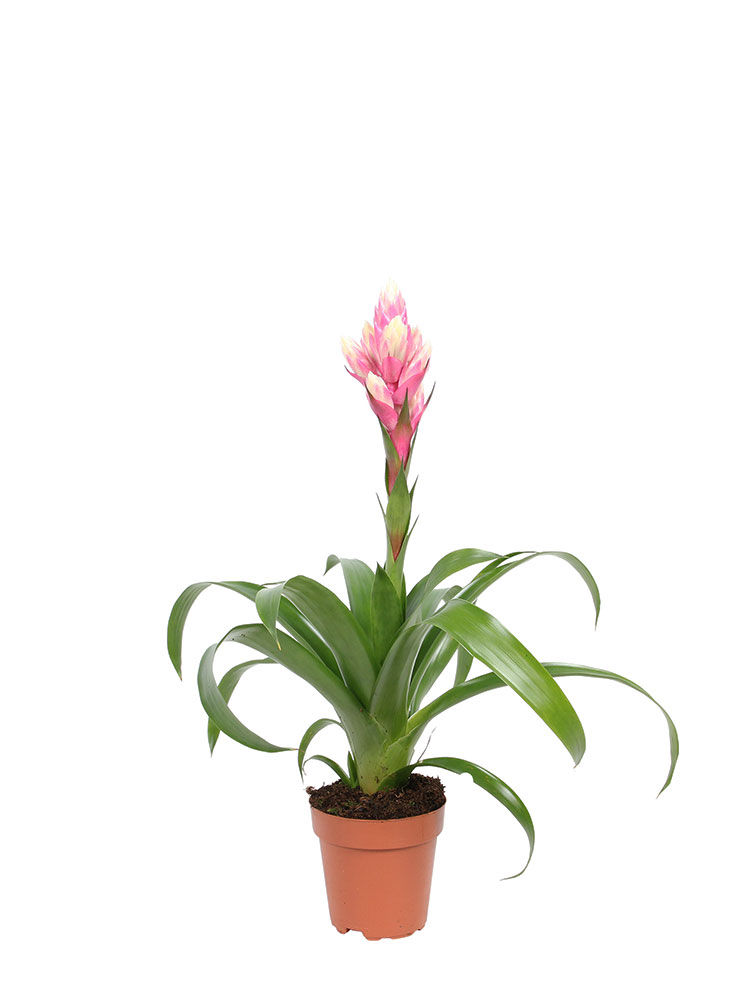
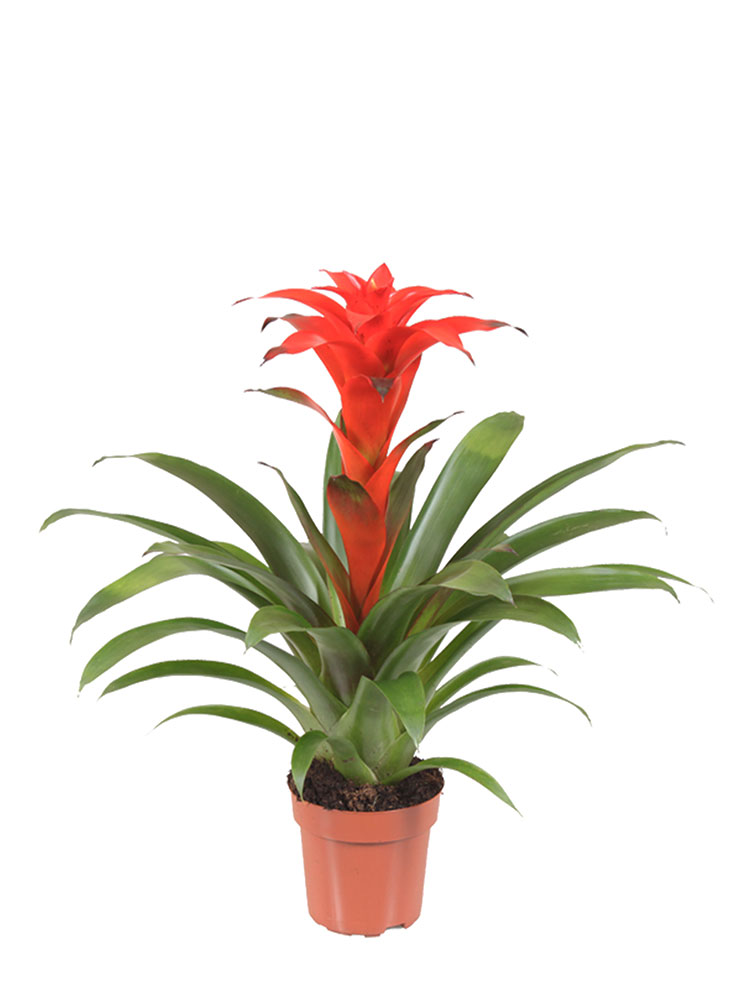
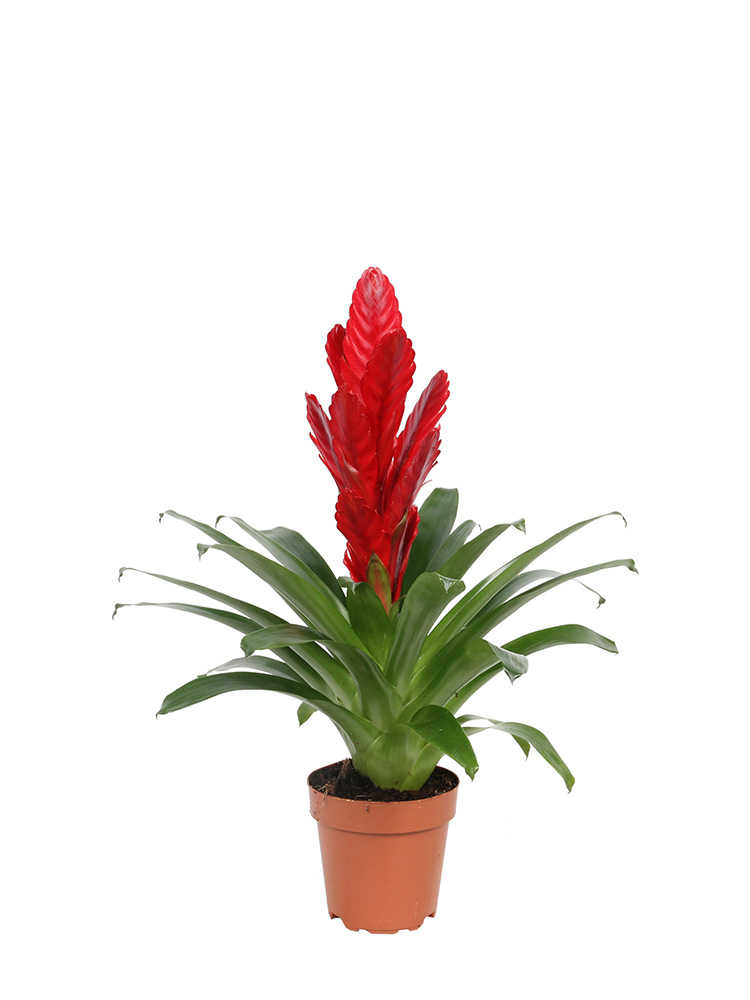
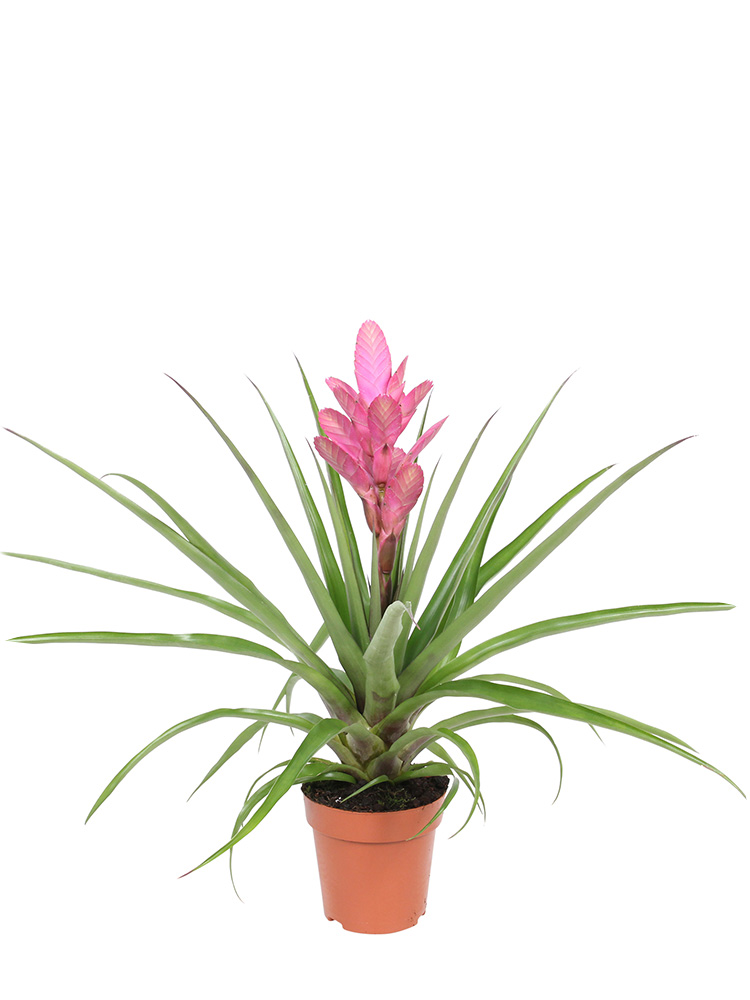
The difficult part about propagating a Bromeliad? You can only propagate a Bromeliad when it has pups. If you don't have any pups, then there’s some good news! A Bromeliad (in most cases) only makes pups when it is going to die. So your Bromeliad will last for a while.
Do pups grow next to the mother plant? Water the calyx once a week. Keep this up for 2 to 3 weeks.
The water makes the cutting grow its own roots faster. This will make the cutting grow bigger, stronger and and is more adaptable.
Supplies
First clean the knife you might be using.
Keep the knife under hot water and clean them well. This prevents you from unnecessarily transferring bacteria during the propagation.
Do you happen to have disinfectant or pure alcohol? Disinfect the tools after using hot water. Let's get away with those bacteria and fungi!
First dig out the Bromeliad plant. It’s best to remove the plant from its pot and remove some potting soil. By digging out the plant you’ll reduce damage to the roots, the pups and the mother plant.
You can propagate a Bromeliad by tearing the plant in parts. You grab the pup and the mother plant tightly, and carefully pull them away from each other.
If it's not easy to seperate the cutting you can use the knife. You can then cut the pup from the mother plant. Whatever you do, do it carefully! There can be roots that connect the pup with the mother plant.
It is important to separate the roots of the pup from the mother plant. It is best to use lukewarm running water for this. This loosens the potting soil, so you can easily take the roots apart.
Do you happen to have cutting powder at home? Then you can apply the cutting powder to the ‘open wound’ of the cutting. Let the powder dry well!
Don’t have any cutting powder? No problem. You can also easily propagate without. Although the use of cutting powder can stimulate root growth. So it is an interesting option to consider.
Place the cutting in a pot with fresh potting soil. Give a little water immediately after the cutting is placed in the pot. The water allows the roots to grow faster, making recovery quicker.
Keep the potting soil slightly moist, so that new roots will grow. But, be careful that the plant will not develop root rot. Root rot occurs with plants and cuttings that get more water than they need.
Position the cutting on a spot with a lot of medium light. If you place the cutting directly on the windowsill the leaves can be burned. This is because a cutting is very sensitive just after a propagation.
Good to know: after propagation, the cutting can hang limp. This is not a problem! A cutting has to take care of itself now and that’s quite a big difference. The cutting just needs some time to get used to the new situation.
Follow the step-by-step plan below and before you know it, the flowering has started.
Withing 8 to 16 weeks the plant will start to bloom.