

Deliver to
The Netherlands
£
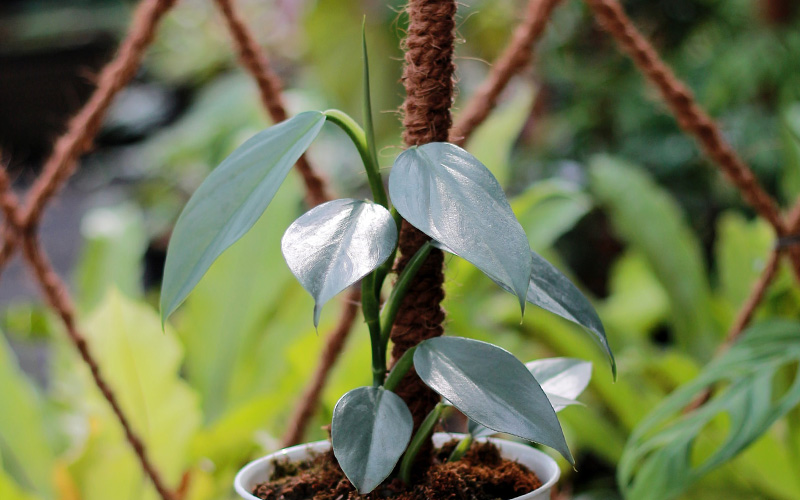
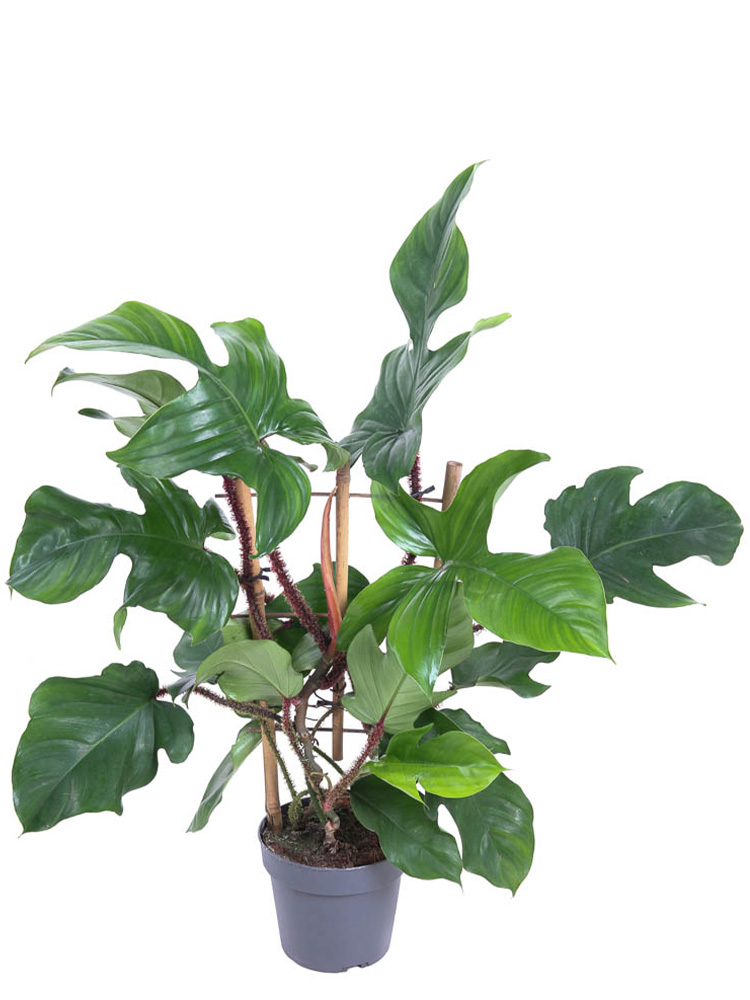
changeFor climbing plants like Monstera and Philodendron, a moss pole can be a valuable addition. You might also know a moss pole as a moss stick. Using this moss pole, you can support a houseplant, helping it grow faster and larger. This is because natural climbers, such as houseplants, thrive with support like a moss pole.
You could certainly buy a plant with a moss pole, but deciding to make one yourself can be a fun activity.
Naturally, some plant species are climbers. They grow upwards on trees and other structures to hold onto. A moss pole provides houseplants with an opportunity to climb naturally upwards. This encourages more growth, larger and stronger leaves, and a healthy plant.
With a moss pole, it's also easier to keep the plant in check. Especially the Monstera tends to grow wildly. With a moss pole, you guide the plant in one direction, mainly allowing it to climb upwards. No more wild growth!
To make a moss pole, you only need three essential "materials." However, you may not have all these materials at home. What do you need? It's handy to have the following:
Materials
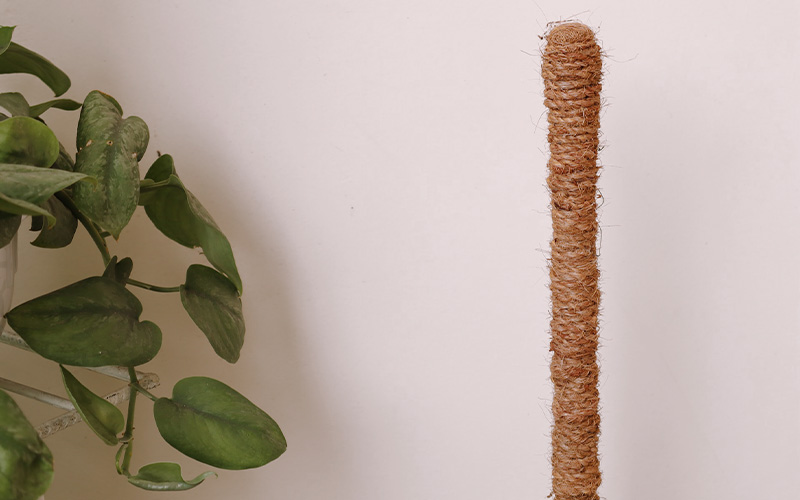
The basis of a moss pole is, of course, the material itself. First, look for a suitable support with the ideal length. The ideal length of a moss pole is longer than the houseplant at the time you add the moss pole. Additionally, it's important that the stick, branch, or tube is sturdy.
Once you've found a suitable base for the moss pole, you can prepare it. Have someone hold the stick or place it between some rocks so that it stands upright. The method doesn't matter as long as the stick stands upright. This is the easiest way to evenly distribute the moss around the stick.
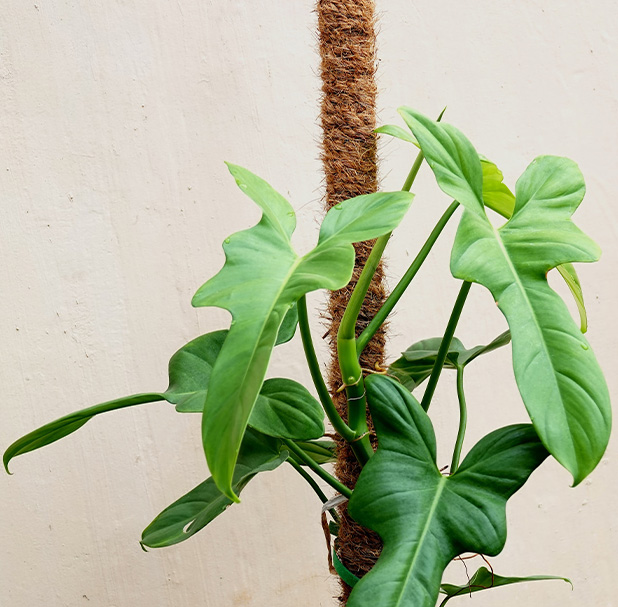
Place all the moss you have at the bottom of the stick and gently pull it upwards. Using all the moss at once keeps it connected. This is easier than using loose pieces of moss. Then, cut three separate pieces of string that you can wrap around the moss pole. The length of the string pieces depends on how big and wide the stick is.
Wrap one of the string pieces around the stick and tie it. Now you can crisscross the rest of the string around the stick. Repeat this for all three pieces of string.
Once the moss pole is ready, you can attach the plant to it. It's handy to dig up the plant to avoid piercing the roots with the moss pole. Secure the moss pole to the plant by twisting it around with string.
Has your indoor plant outgrown its moss pole a bit? You can easily extend the moss pole. First, look for an extra stick, tube, or branch. Ideally, the stick should be longer than the moss pole you already have with the plant. Again, wrap this stick well in moss.
Ideally, you press the stick into the plant's soil and secure it to the current moss pole. You can do this by tying the new moss pole to the current one with string.
Once the moss pole has truly outgrown, it's best to remove it and opt for a completely new moss pole.
A moss pole is not mandatory, but it's wise to tie up plants that need it. You can use the following alternatives: